

Between a finished design and a printed label sits, a stretch of work most people never see. That stretch is the prepress workflow, and it's where your packaging either gets locked in as flawless or quietly picks up the errors that end in reprints, delays, and recalls.
For teams juggling hundreds of SKUs and back-to-back launch deadlines, prepress isn't a formality. It's the make-or-break stage. Get it right, and files fly to press clean and compliant. Get it wrong, and a single missed step ripples across every unit you print.
In this post, we'll walk the prepress workflow from files to final print. You'll learn what each stage does, where errors sneak in, and how automation turns a fragile, manual process into a fast, reliable one. Let's dive in.
What Is the Prepress Workflow?
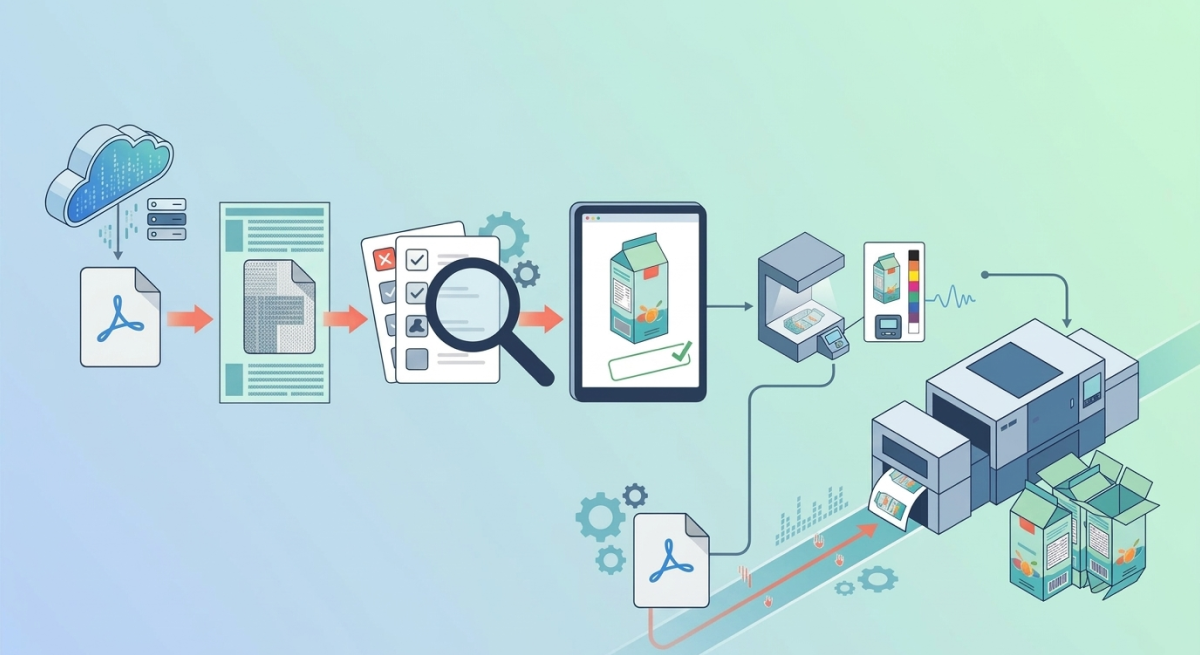
The prepress workflow is everything that happens between a completed design and the press. It's the process of preparing, checking, and optimizing your files so they print accurately and consistently on the final material.
Think of it as the bridge between creative intent and physical output. The design team hands off artwork. Prepress translates that artwork into a press-ready format, verifying text, color, structure, and compliance along the way, so what lands on the shelf matches exactly what everyone approved.
For high-volume packaging, this stage carries enormous weight. Every label update, every new market, every SKU passes through prepress. When the workflow runs clean, you ship faster and with confidence. When it stumbles, the cost multiplies across your entire product line.
Key takeaway: The prepress workflow is where design becomes press-ready reality and where quality is either secured or lost.
Why the Prepress Workflow Matters
Before we walk through the stages, let's be clear on the stakes. A strong prepress workflow directly drives the outcomes fast-moving CPG and prepress teams care about most.
- Speed to market. A streamlined workflow moves files to press faster, helping you hit tight launch windows instead of missing shelf slots.
- Fewer reprints. Catching errors in prepress, before plates or press time, protects your budget and cuts material waste.
- Consistent quality. A repeatable workflow delivers the same high standard across every SKU, batch, and market.
- Compliance confidence. Prepress is your last line of defense for barcodes, mandatory copy, and multi-language accuracy before a mistake becomes a violation.
In short, prepress is where speed, accuracy, and cost savings all come together. Nail this stage, and everything downstream gets easier.
The Key Stages of the Prepress Workflow
Let's break the workflow into its core stages. Each one has a job to do, and each one is a checkpoint where quality gets confirmed, or where errors slip through.
1. File intake and preparation
Everything starts here. Artwork arrives from design, and prepress confirms the files are complete, correctly formatted, and built to spec. Layers, fonts, image resolution, dimensions, and bleeds all get verified.
This stage sets the tone for the entire workflow. Files that enter clean, move fast. Files that arrive incomplete or off-spec, trigger rework that eats hours before real prepress work even begins.
2. Preflight checks
Preflight is the systematic inspection of a file for technical problems that would break the print. It scans for missing fonts, low-resolution images, incorrect color spaces, broken links, and structural issues.
The goal is simple: catch every technical flaw now, while it's cheap to fix, rather than after it reaches press. A thorough preflight is one of the highest-value steps in the whole workflow.
3. Color management
Color is one of the trickiest parts of packaging, and one of the biggest sources of error. Color management ensures that the brand red on your file matches the brand red on the shelf, run after run, across different substrates and presses.
This stage involves setting the right color profiles, converting spot and process colors correctly, and confirming that what's on screen will translate accurately to print. For CPG brands where color is the brand, getting this right protects both consistency and recognition.
4. Proofing and approval
Now the file gets reviewed and signed off. Proofing confirms that text, artwork, color, and layout all match the approved design and meet every requirement before production begins.
This is where multi-language copy, ingredient lists, allergen warnings, and regulatory claims get their final verification. It's also where version confusion causes the most damage, so confirming you're proofing the approved master file is critical.
5. Plate and form preparation
With the file approved, prepress prepares it for the specific press and process. This includes imposition (arranging artwork for efficient printing), trapping, and generating the plates or digital forms the press will use.
Precision here directly affects registration, waste, and press efficiency. A well-prepared form means a smoother run and less material lost to setup.
6. Final output
The last stage sends a verified, press-ready file to production. Everything has been checked, approved, and optimized. At this point, the file should print exactly as intended. No surprises, no last-minute scrambles.
Key takeaway: Each prepress stage is a quality checkpoint. Strong checks at every step keep errors from reaching the press.
Common Prepress Errors and Their Downstream Impact
Here's the hard truth: a small mistake in prepress rarely stays small. It travels downstream and multiplies. Let's look at the most common culprits and what they cost.
- Wrong or missing text. A swapped allergen warning or missing mandatory claim can trigger a recall, one of the most expensive failures in packaging.
- Color inconsistency. Off-brand color across batches erodes shelf recognition and often forces a full reprint.
- Low-resolution images. Blurry logos or graphics look cheap and can send an entire run back to the start.
- Barcode and code errors. A barcode that won't scan at checkout can halt distribution and damage retailer relationships.
- Version confusion. Sending an outdated file to press reintroduces mistakes you already fixed and wastes an entire production run.
The pattern is clear. Each of these errors is inexpensive to catch in prepress and enormously expensive to catch after printing. That gap is exactly why the prepress workflow deserves your attention.
Key takeaway: Prepress errors don't stay contained, they cascade into reprints, delays, and recalls. Catch them early to keep costs down.
How Automation Improves Prepress Accuracy and Speed
Manual prepress is precise work, but it has limits. Human eyes tire. Handoffs multiply. Version confusion creeps in. Automation removes these weak points, not by replacing your expertise, but by handling the repetitive checks that drain time and invite mistakes.
Here's where automation transforms the workflow:
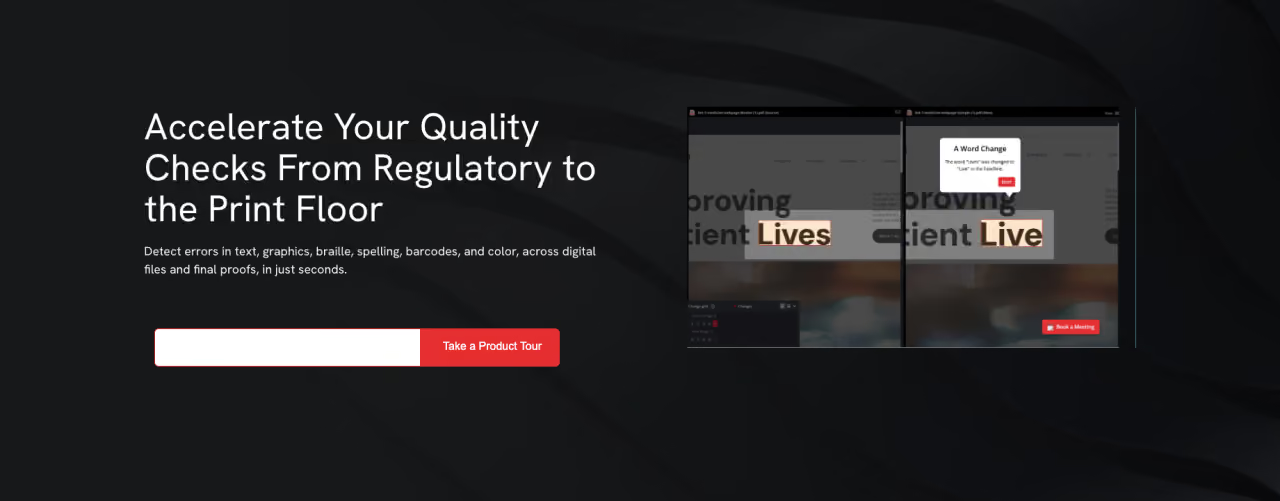
- Automated preflight and inspection: Software checks every file against an approved master in seconds, flagging text changes, color deviations, and structural issues no reviewer can catch consistently after a long day.
- Automated proofreading: Text, spelling, and copy get verified across every language you sell in, no manual line-by-line comparison required.
- Barcode and braille verification: Codes and accessibility elements are checked automatically, so compliance risks never reach the press.
- Version control through comparison: Anchoring every check to the approved master file means outdated artwork can't sneak through.
The best part? These tools embed directly into the platforms prepress teams already rely on. That means automation strengthens your existing workflow instead of forcing you to rebuild it, cutting turnaround times while keeping quality airtight.
The payoff is measurable: reviewers reclaim minutes to hours on every label, error detection climbs, and reprints drop. Multiply that across hundreds of SKUs, and you've reclaimed entire days.
Key takeaway: Automation makes prepress faster and more accurate by handling repetitive checks with a precision manual review can't sustain.
Best Practices for a Streamlined Prepress Workflow
Ready to tighten your prepress workflow? These practices deliver the biggest gains for high-volume, deadline-driven teams.
- Standardize file intake: Set clear specs for incoming artwork so files enter clean and rework starts less often.
- Preflight early and often: Catch technical issues at the front of the workflow, not at the press.
- Anchor everything to an approved master: Compare every revision against a verified reference to end version confusion.
- Automate high-risk checks first: Prioritize proofreading, color, barcodes, and compliance copy, the errors that cost the most.
- Integrate, don't isolate: Embed automation into your existing tools so adoption feels seamless and quality stays consistent company-wide.
- Centralize approvals: Replace scattered email sign-offs with a single, traceable source of truth.
- Track your results: Measure reprints, turnaround times, and error rates to prove ROI and keep improving.
Follow these, and your prepress workflow shifts from a fragile bottleneck to a reliable engine for speed and quality.
Prepress Workflow in Packaging: The Bottom Line
The prepress workflow is where packaging quality is truly decided. From file intake and preflight checks to color management, proofing, plate preparation, and final output, each stage is a checkpoint that either secures flawless output or lets costly errors slip toward the press.
For teams managing high SKU counts and tight timelines, a streamlined prepress workflow is one of the most powerful levers you have. It speeds products to market, slashes reprints, locks in consistency, and protects compliance across every language and market. Automation takes it further, embedding fast, accurate, repeatable checks directly into the tools you already use.
Start by mapping your current prepress workflow and finding the one stage where errors and delays hit hardest. That's your highest-value target and your first step toward packaging you can trust, every single run.
Frequently Asked Questions